
Before you migrate WordPress.com to WordPress.org
This post is only going to deal with the actual process of moving your website data and content from one place to the other, which effectively allows you to migrate WordPress.com to WordPress.org. That means I’m going to assume you’ve already purchased WordPress web hosting, picked a domain name, and installed a blank WordPress site.
In case you haven’t done that, we have some suggestions for you here, but if you’re in a hurry, just go with Bluehost. They’re a respected company with tons of options for WordPress.
This post will cover everything that happens after you have your new blank WordPress site. If you’re having issues getting to that point, your web host should be more than happy to help you.
👉 With that out of the way, here’s how to actually migrate WordPress.com to WordPress.org:
- 1
- 2
- 3
- 4
1. Export your existing WordPress.com content
Before you can import your existing content to your new site, you need to export it all from WordPress.com. I’ll demonstrate how to do that with a rather ugly WordPress.com website I used back in my college days.
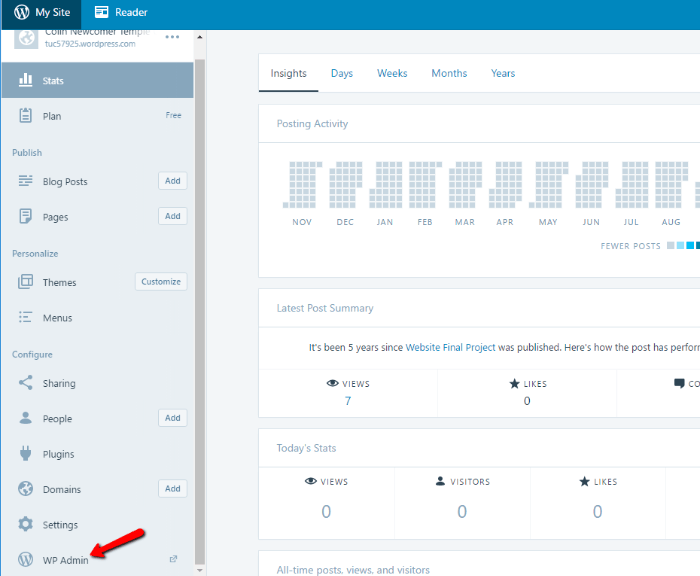
First, you need to sign into your WordPress blog and go to your WP Admin:
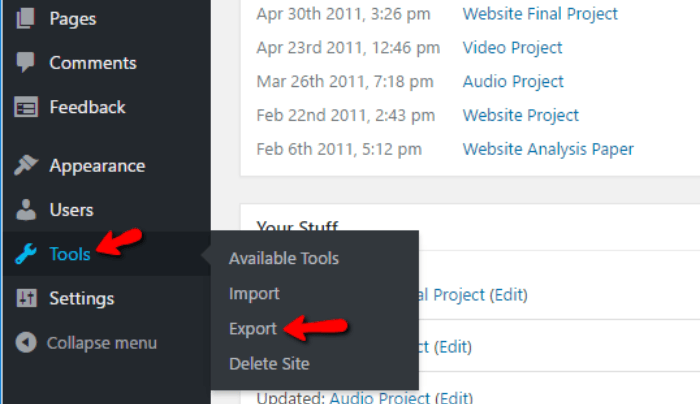
Once you’re at your WP Admin, find the Tools category in your sidebar and select Export:
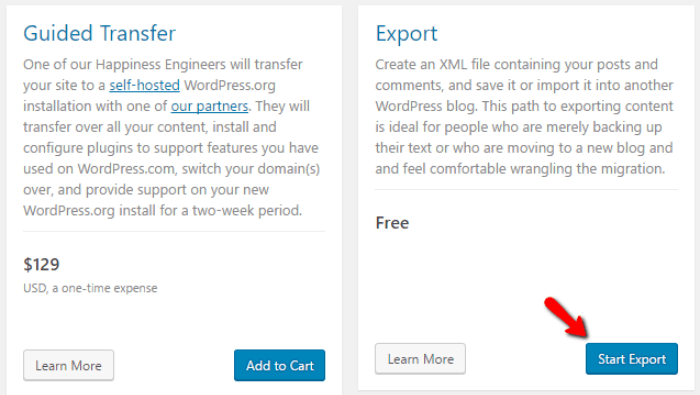
If you don’t feel like paying a $129 fee for a guided transfer to migrate WordPress.com to WordPress.org automatically, you should select the Start Export option in the Export box:
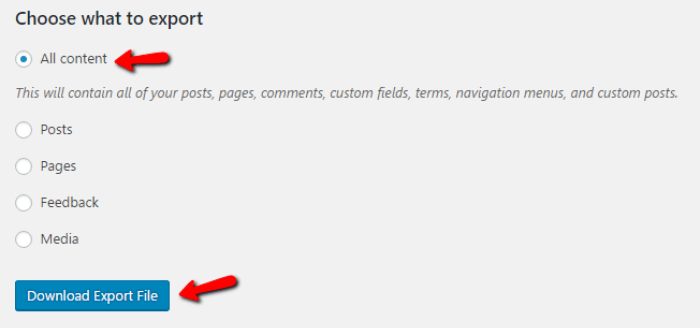
On the next page, make sure All content is selected (which is the default), and then click Download Export File:
The download should be a single .xml file. This one file contains all your posts, pages, navigation menus, and more. Remember where it is because you’ll need this file in the next step.
2. Import your content into your new WordPress site
At this point, you’ll need to have WordPress installed on your own host to continue. Then, you need to log into the WP Admin for your new WordPress site by going to YOURDOMAIN.com/wp-admin
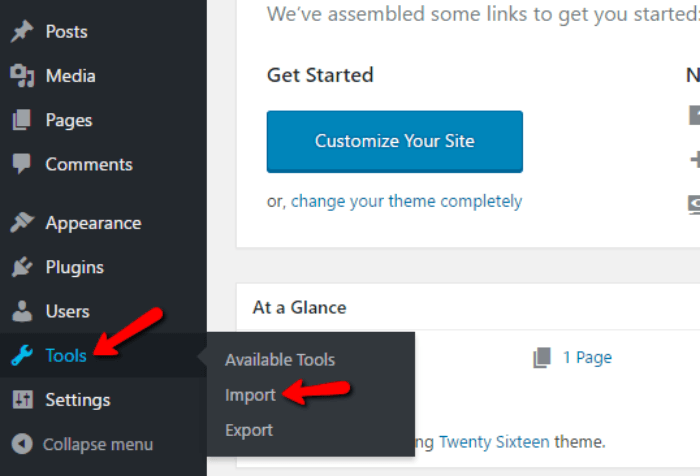
Once you’re in your new WP Admin, head to Tools » Import:
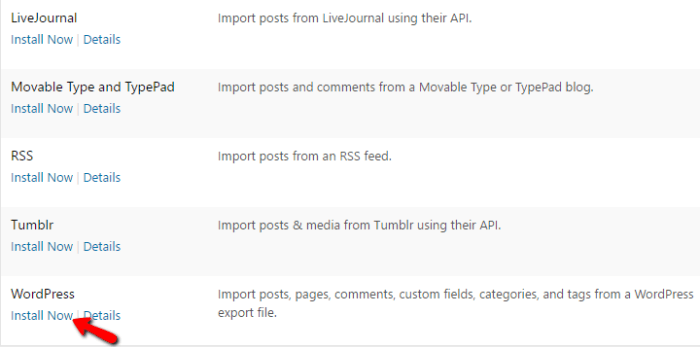
On this next page, you need to install the official import plugin for WordPress. Scroll to the bottom and click the Install Now link:
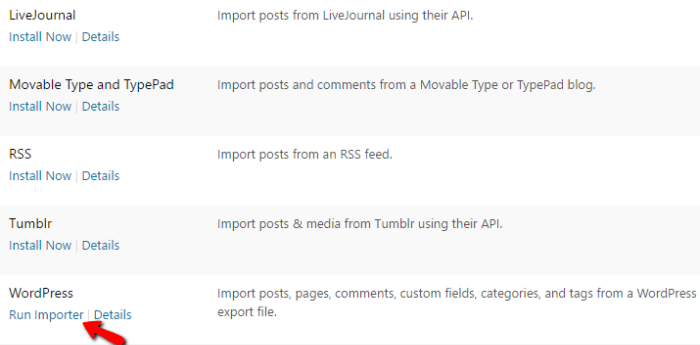
WordPress will automatically install the plugin without requiring you to leave the page. Once the plugin is installed, the same link will change to Run Importer. Click that link to continue:
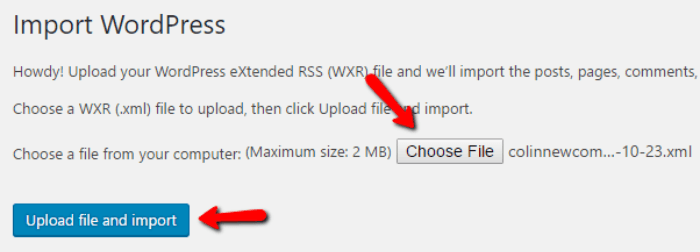
On the next page, click on Choose File and select the .xml file you exported in the previous step. After selecting it, click on the Upload file and import button. WordPress will now begin the process of automatically importing all your old posts and pages into your site:
But before WordPress does that, it gives you the option to choose which author to assign all the old posts to. You can either have it:
- Create the same author profile as on your WordPress.com site
- Assign all the imported posts to a new author profile that you specify
- Assign all the imported posts to an existing author profile
If you want to change the author, you can use one of the latter two options. Otherwise, you can just have WordPress create the same author profile from your WordPress.com site.
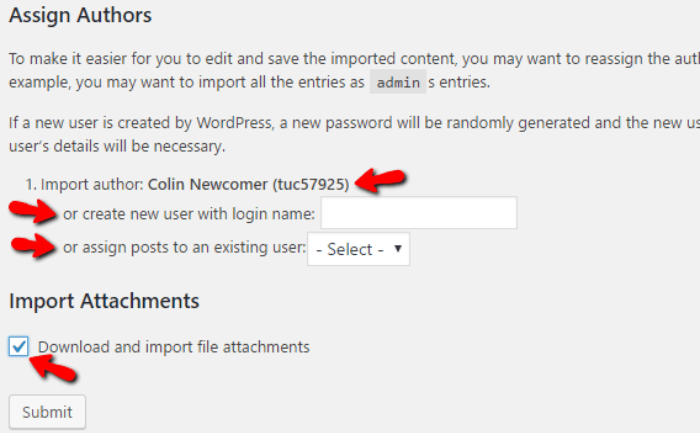
On this page, you’ll also want to make sure to check the box to Download and import file attachments. This will bring over any uploaded images or other media. You definitely want to do this to keep your posts from breaking.
Once you’ve done that, click Submit, and WordPress will migrate everything over. Depending how big your site is, this might take a little time.
3. Check your site for any errors
If you followed all of the instructions, the content of your site should look exactly the same. But it’s still a good idea to go through and make sure all the content, especially images, was successfully imported. Large sites can be especially prone to losing some content – so double checking is never a bad idea.
If you are missing pictures, then you’ll need to go back to WordPress.com so you can download them there and then manually upload them to your new WordPress.org site. Check out our guide on how to import images to WordPress for step-by-step instructions on that.
4. Redirect your WordPress.com site to your WordPress.org site
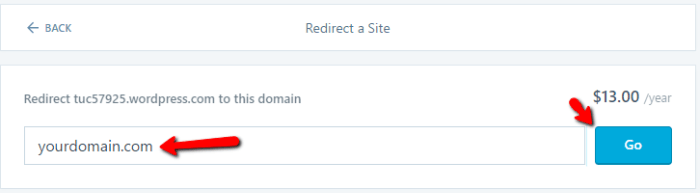
Once you’ve ensured that all your content came through successfully, you should redirect your old WordPress.com site to your new self-hosted site. This is important because it ensures you don’t lose your search engine rankings and that any links to your old address will send people to your new website.
Unfortunately, this is not free. WordPress charges a small $13/year fee for this service. But, if you want to 100% migrate WordPress.com to WordPress.org, $13 is a small price to pay to maintain your traffic and search engine rankings.
To do that, go to the WordPress.com Site Redirect page. Enter your new domain name in the box, click Go, and handle the payment:
If you don’t want to pay the fee, I recommend you at least make your old site private so that you don’t have two identical versions of your content out there. While Google has gotten better at handling duplicate content, it’s still not a good idea.
To make your old site private, go to the WP Admin for your WordPress.com site. Then go to Settings » Reading and check the box that says I would like my site to be private […]


Leave a reply